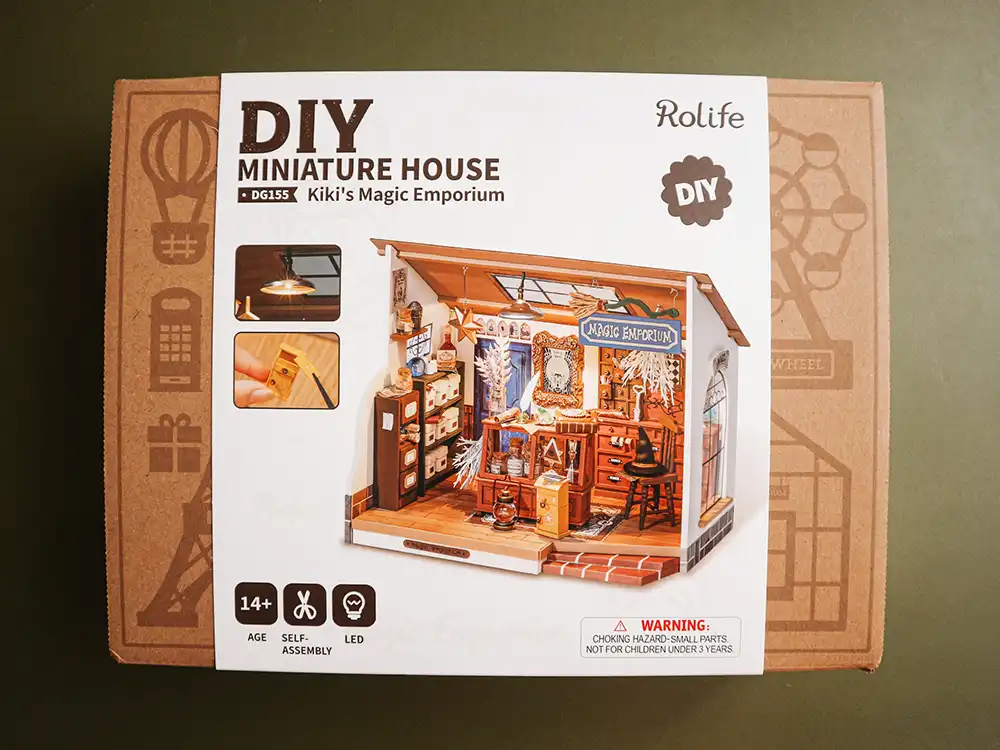
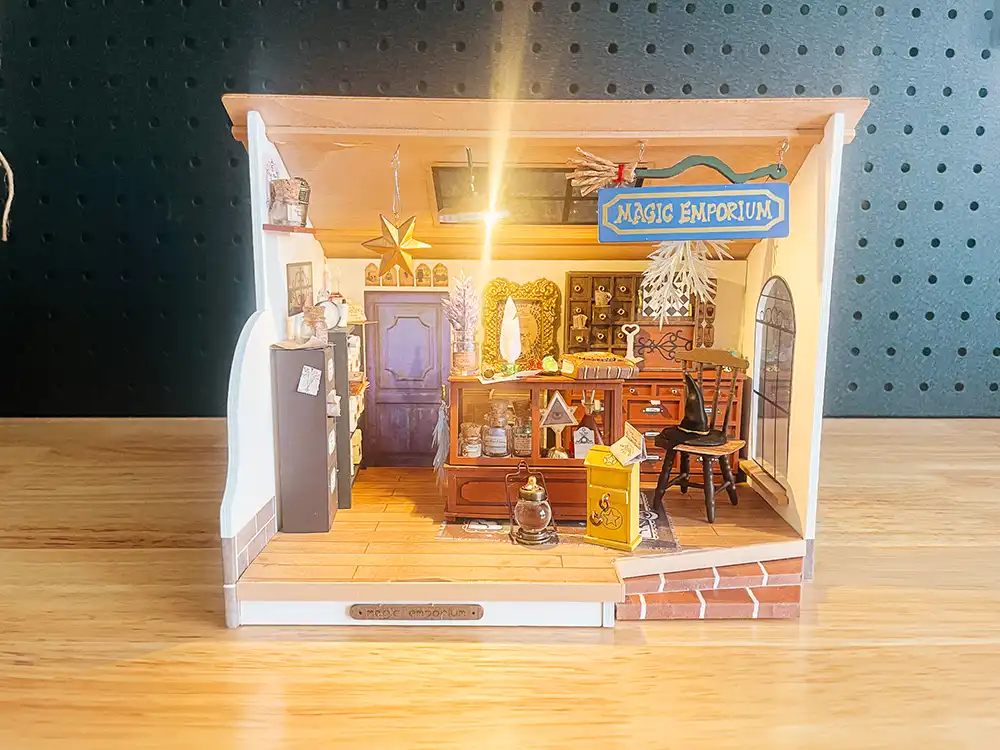
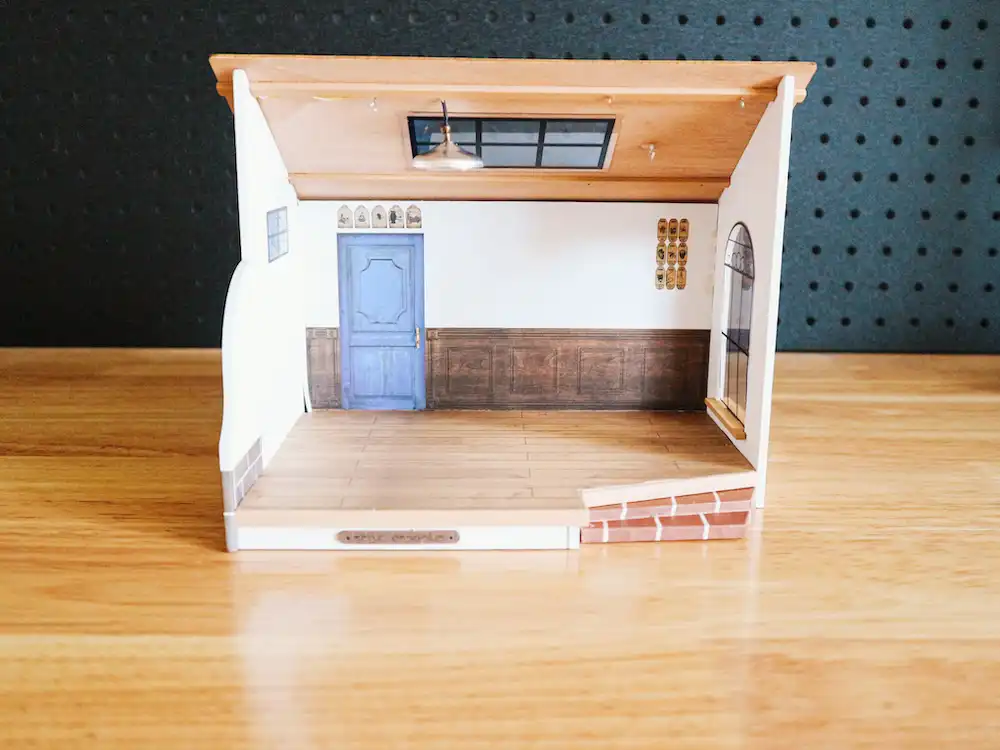
When I first opened the DIY Kiki’s Magic Emporium Miniature House Kit by Rolife, I was immediately impressed by the intricate details of the contents. If you’ve been thinking about trying this kit, I can honestly say it’s both incredibly rewarding and surprisingly challenging. As a complete beginner to DIY miniature kits, I wasn’t sure what to expect—and I wasn’t entirely confident in my ability to pull it off either.
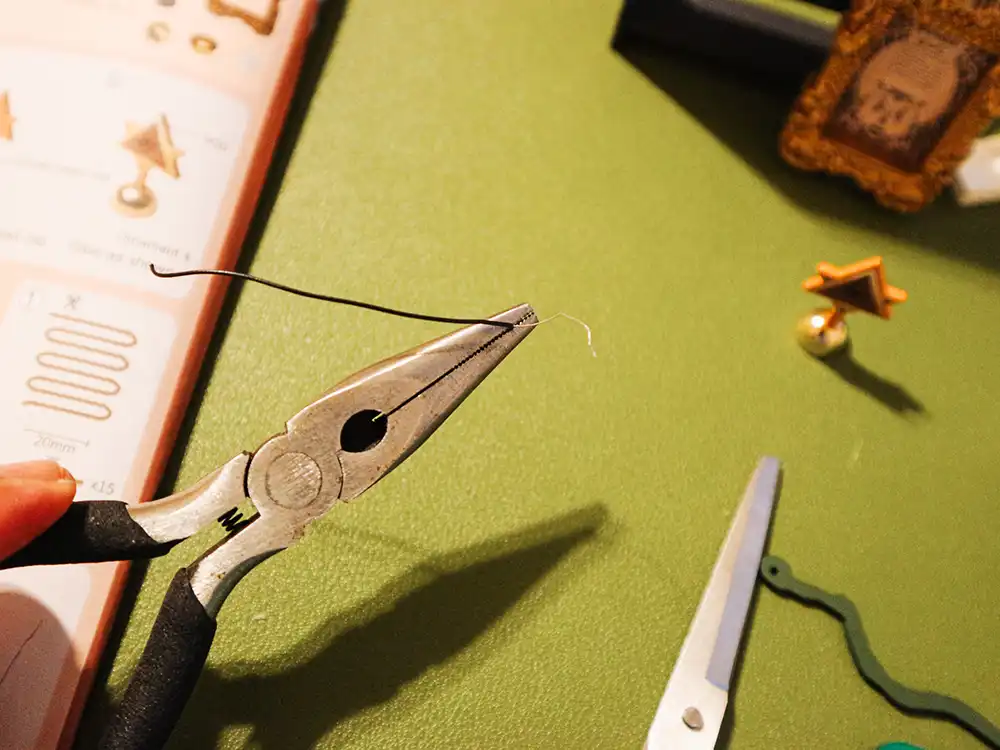
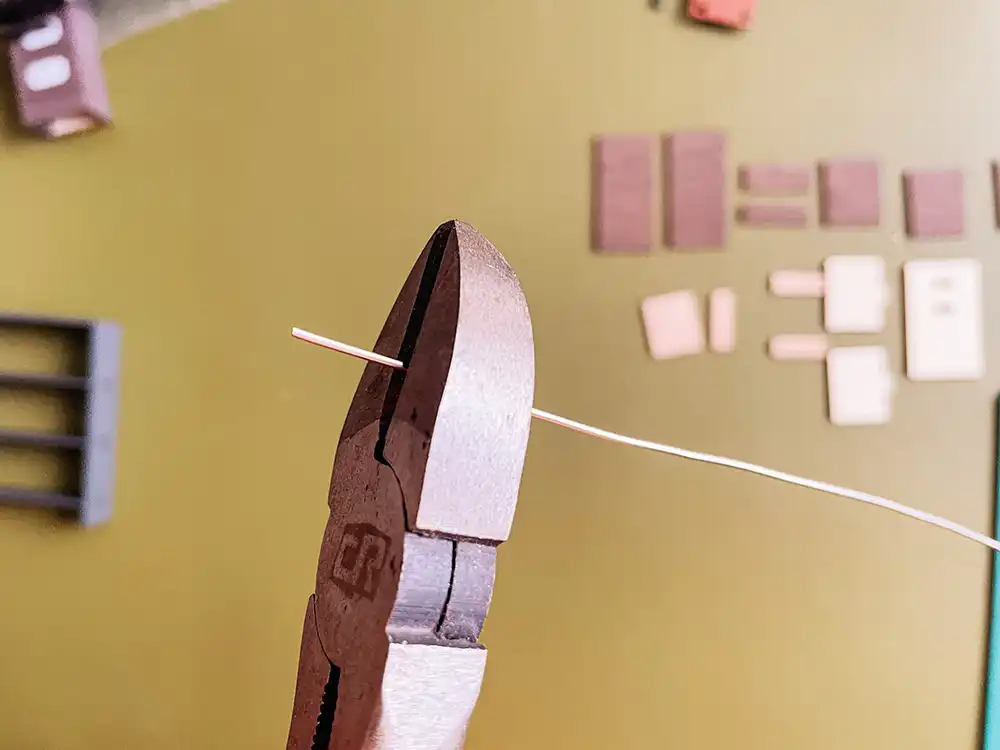
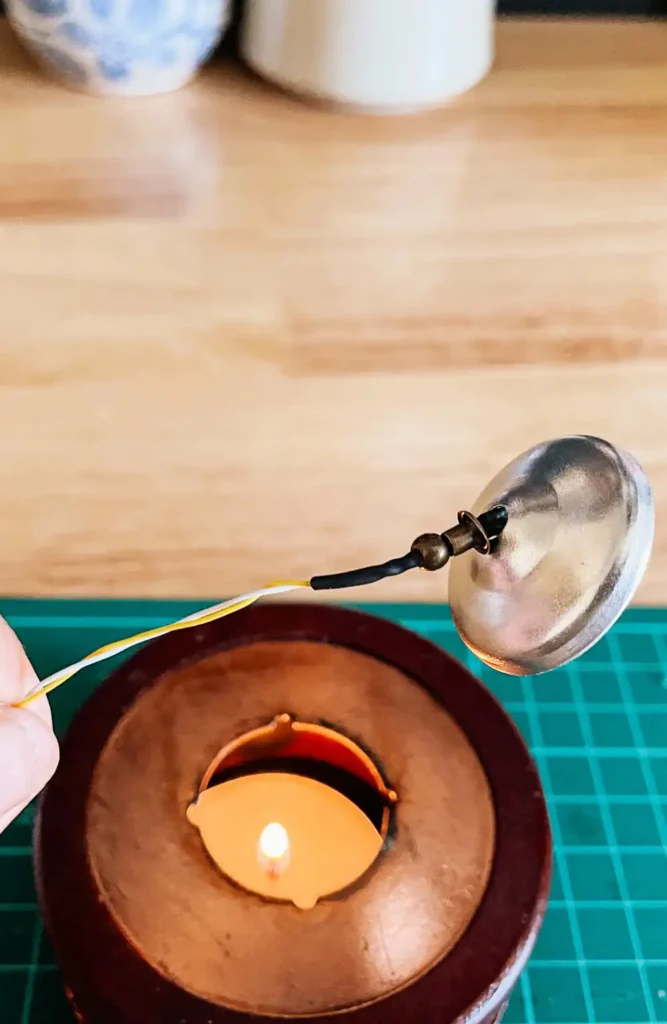
They’re not joking when they say it’s DIY. Even though all the parts are provided and ready to use, there’s still a ton of work you have to do manually—way more than I expected. It’s not like IKEA, where everything just snaps and locks into place. Instead, you’ll be gluing, measuring, cutting, and even bending wires to create details like door handles and hooks. For real, the kerosene lamp handle gave me so much grief, but I eventually got there!
What’s in the Kiki’s Magic Emporium box?
Overall, the kit includes everything you need to complete the project, except for a few additional tools. Be sure to have a ruler, scissors, craft knife, and a few types of pliers on hand—cutting pliers, round-nose pliers, and needle-nose pliers will be especially helpful. You will also need to supply 2 x AAA batteries for the light.
The items included in the kit are:
- 18-page coloured instruction booklet with pictures
- Tools included: tweezers, sandpaper, screwdriver and a silver pen
- A bottle of liquid glue
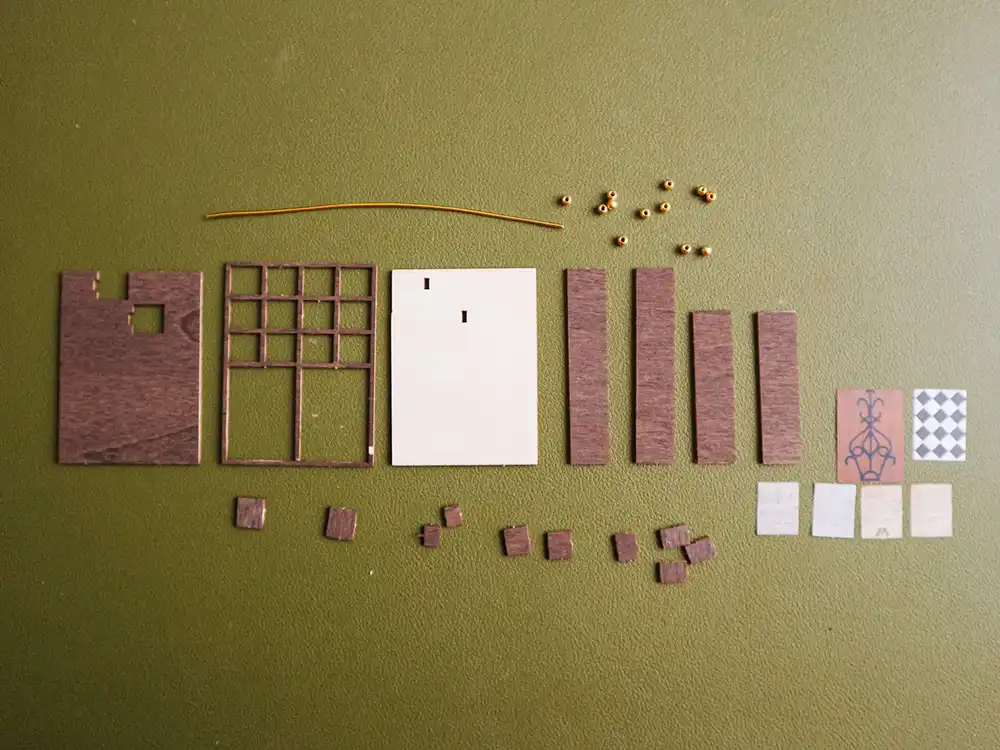
- Wooden construction parts
- 5 packets of parts and accessories
- An illustrated guide to the parts
- Paper cut-outs
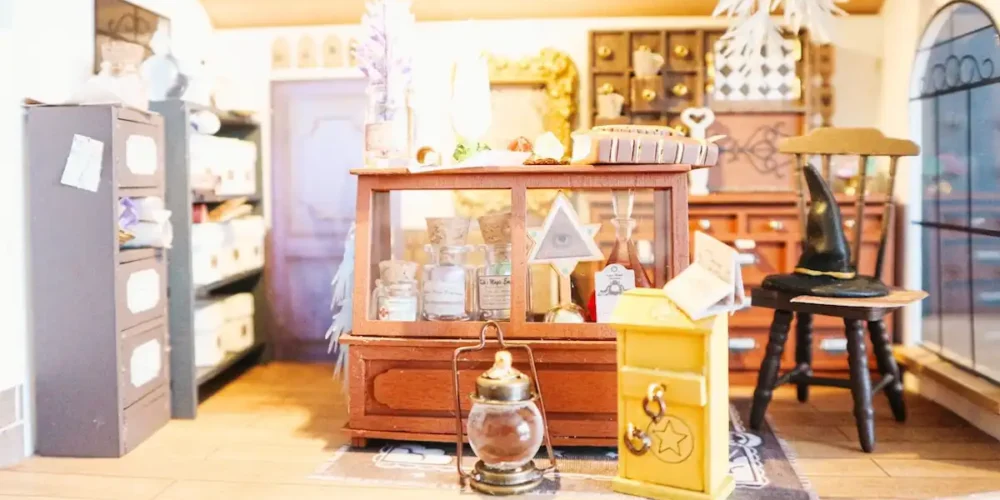
My favourite parts of Kiki’s Magic Emporium
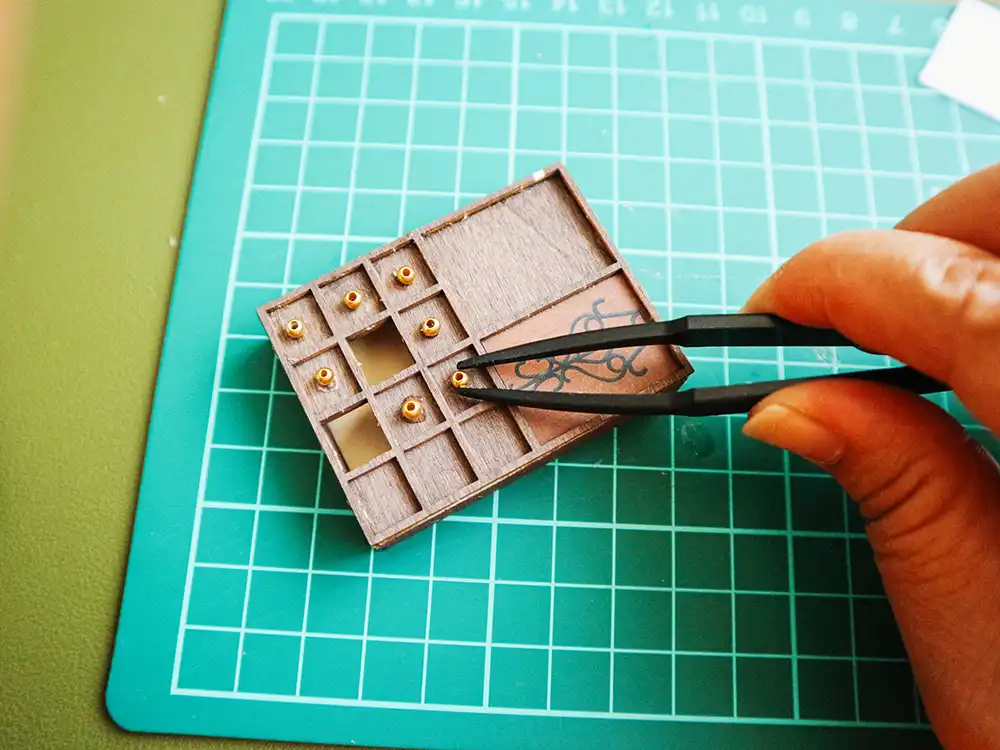
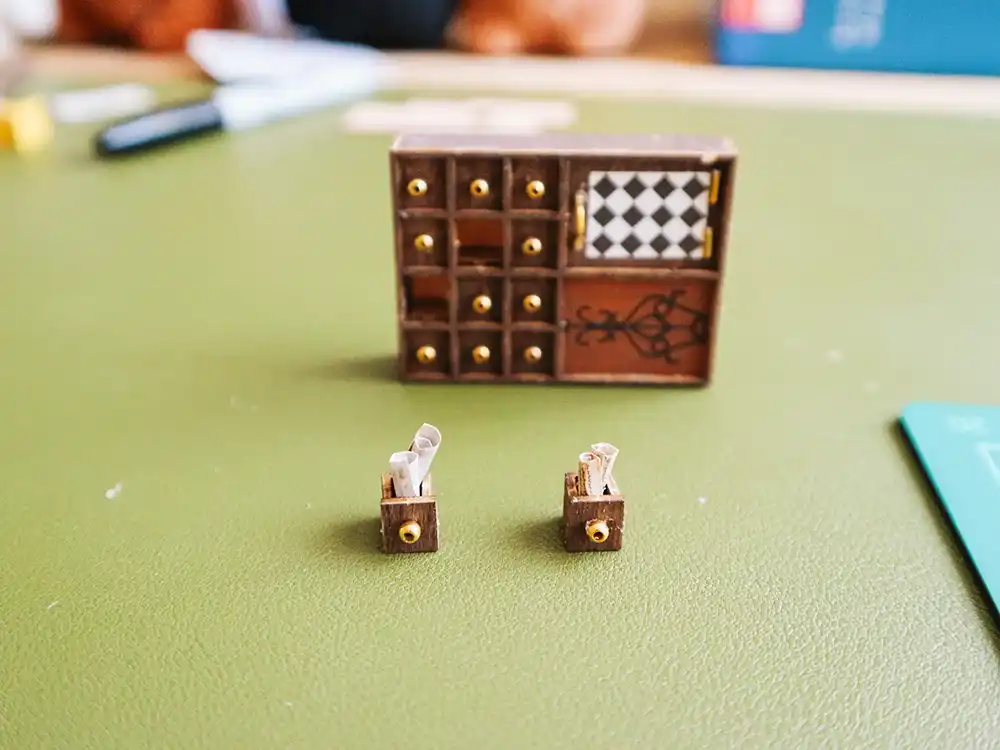
I really enjoyed putting the cabinets and cupboards together. It got a bit repetitive sometimes, but knowing it would all come together made it worth it. It’s so satisfying watching bits of wood and paper turn into mini furniture!
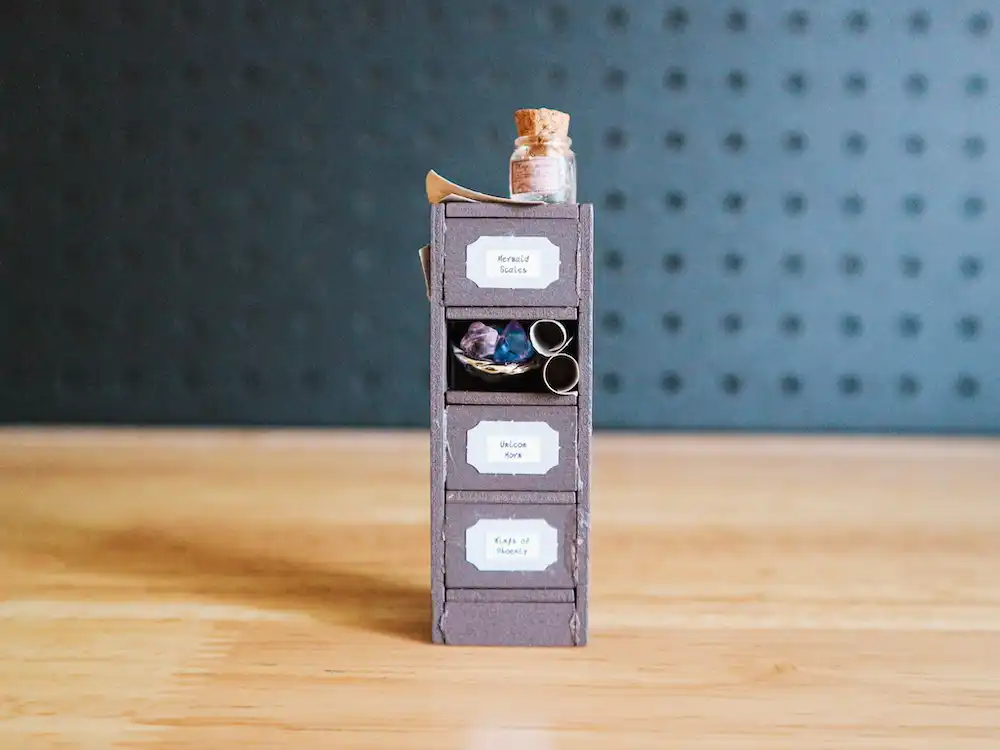


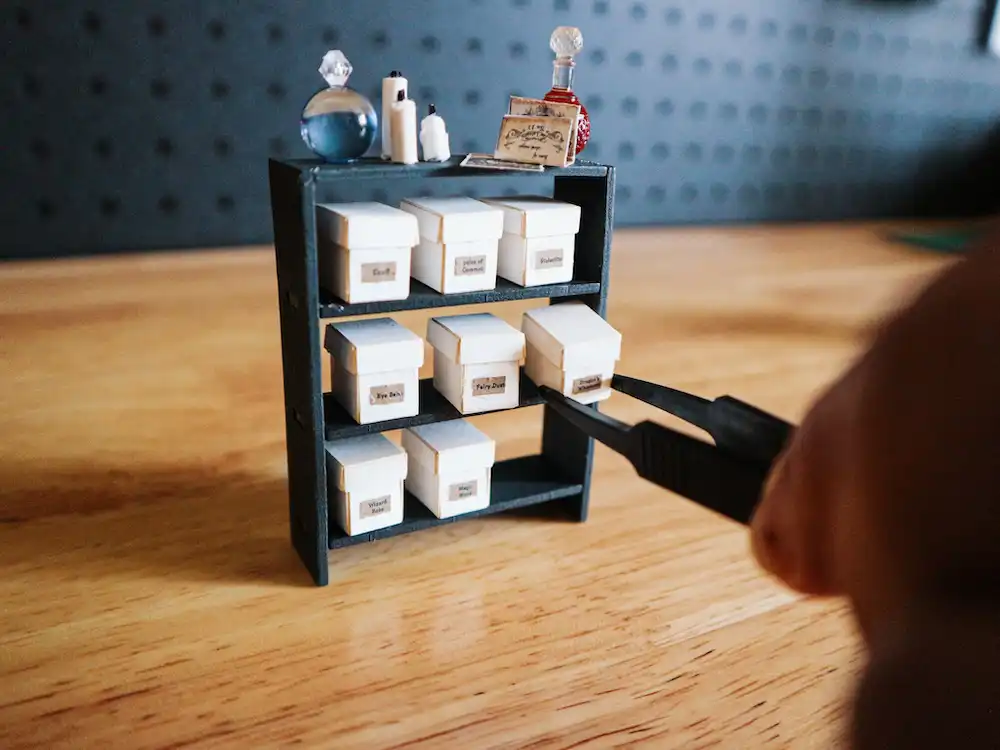
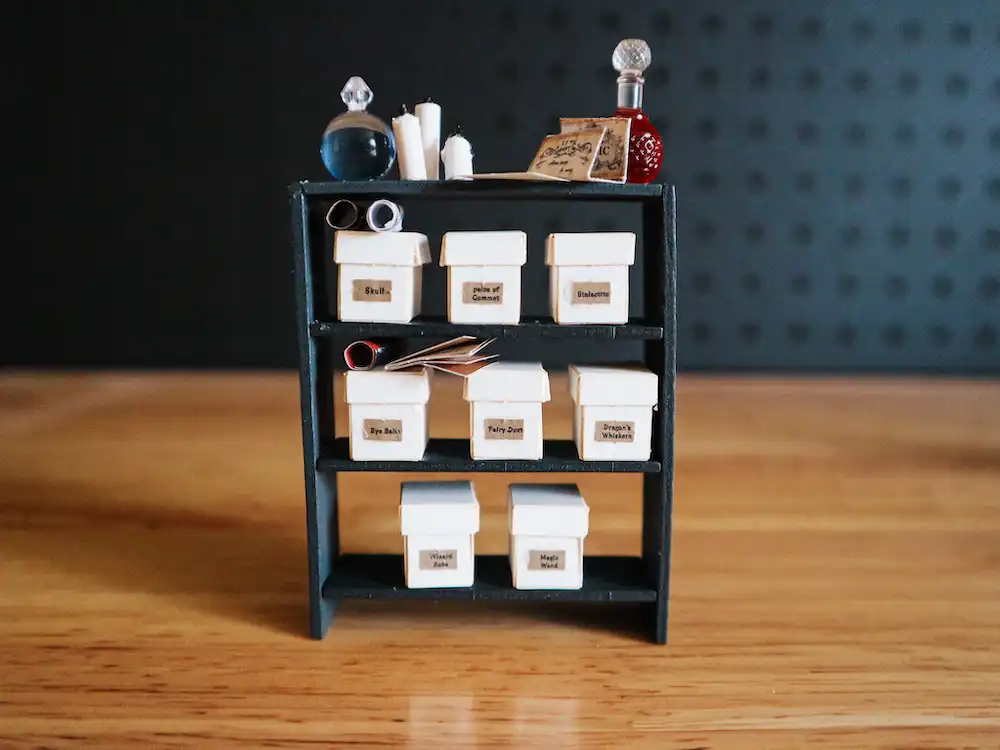
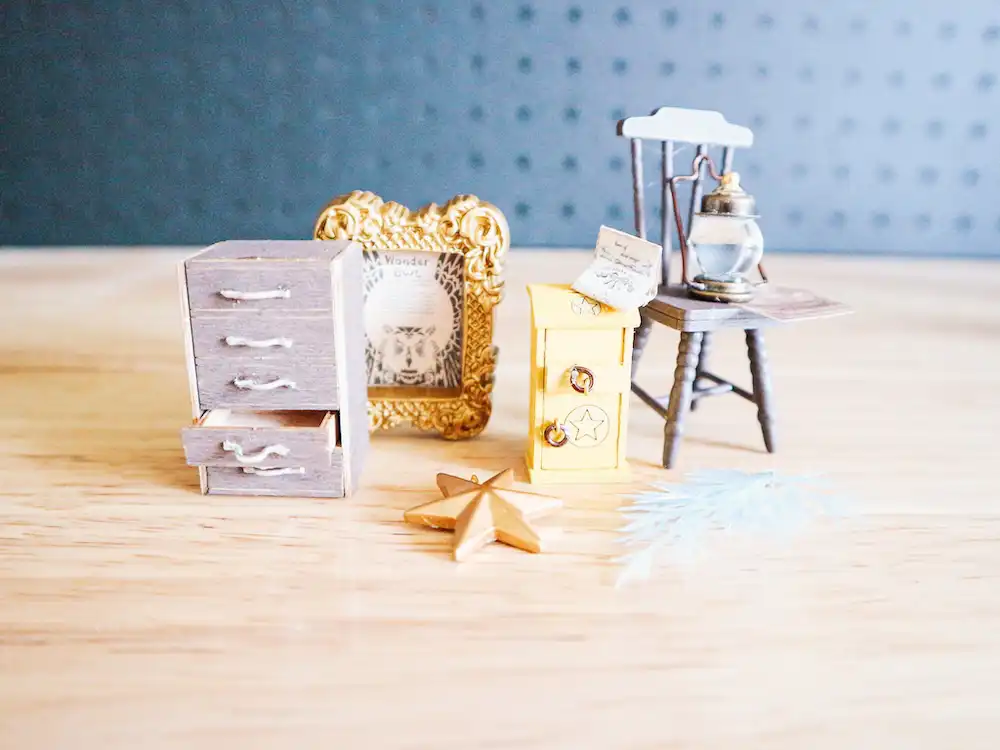
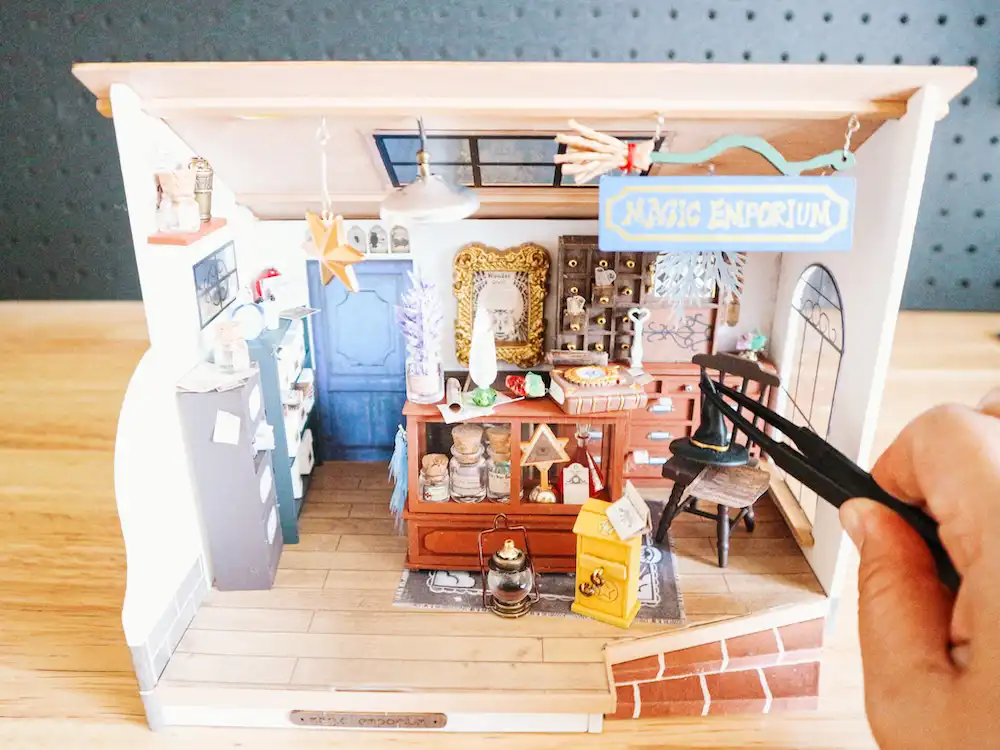
The tiny details were another highlight—like the jar labels, rolled-up scrolls, and beads for the cabinet handles. And the light! I almost gave up on it, but when it finally turned on, I felt so accomplished.
Overall, Kiki’s Magic Emporium is such a charming little setup, and it’s been a really fun project to build.
Challenges (worst parts)
The really fiddly parts of the kit were definitely the worst parts for me!
- The paper candles. Oh my gosh. Trying to peel the paper around the top to make the wick was TORTURE. The paper kept ripping off after just a few millimetres! I’d say it’s similar to trying to find the end of clear cello tape when it’s all stuck down and you can’t see the start.
- Then there were the mini archive boxes. So. Tedious. The worst part was gluing all those tiny side tabs—on both the boxes and the lids. And there were EIGHT to make. I ended up switching between making those and working on other parts just to keep my sanity.
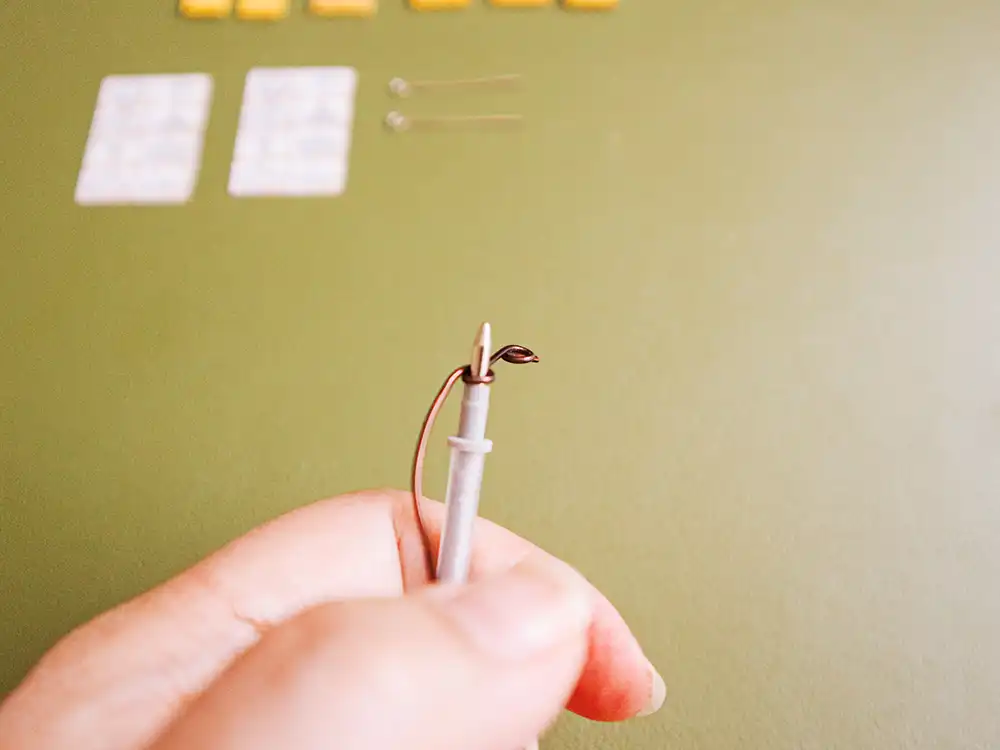
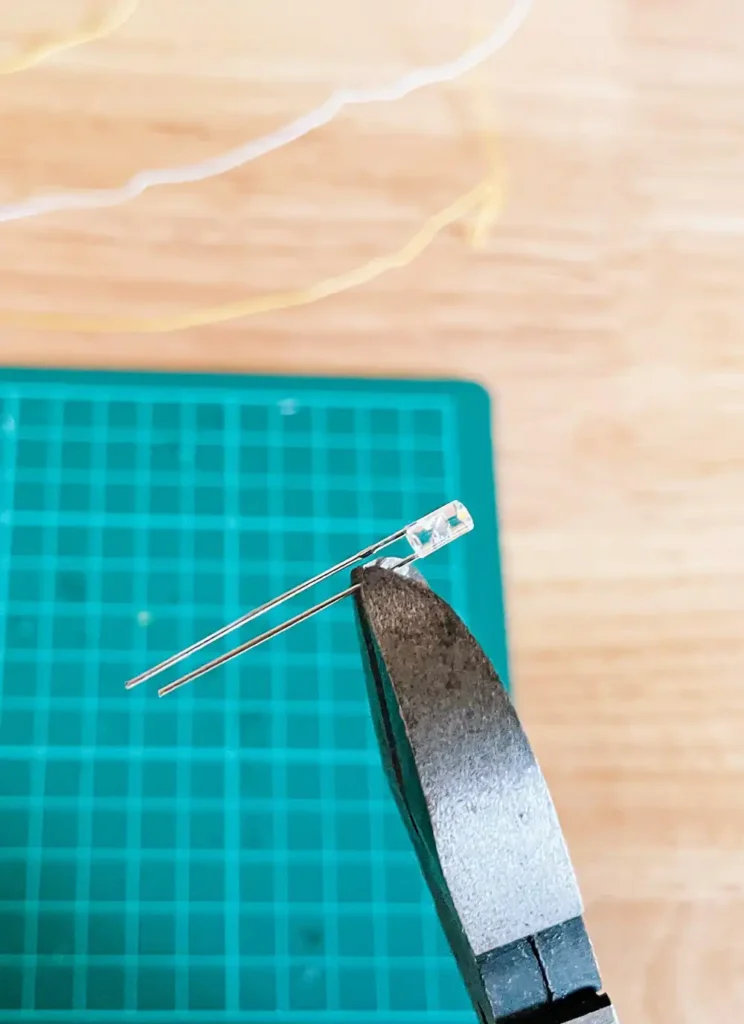
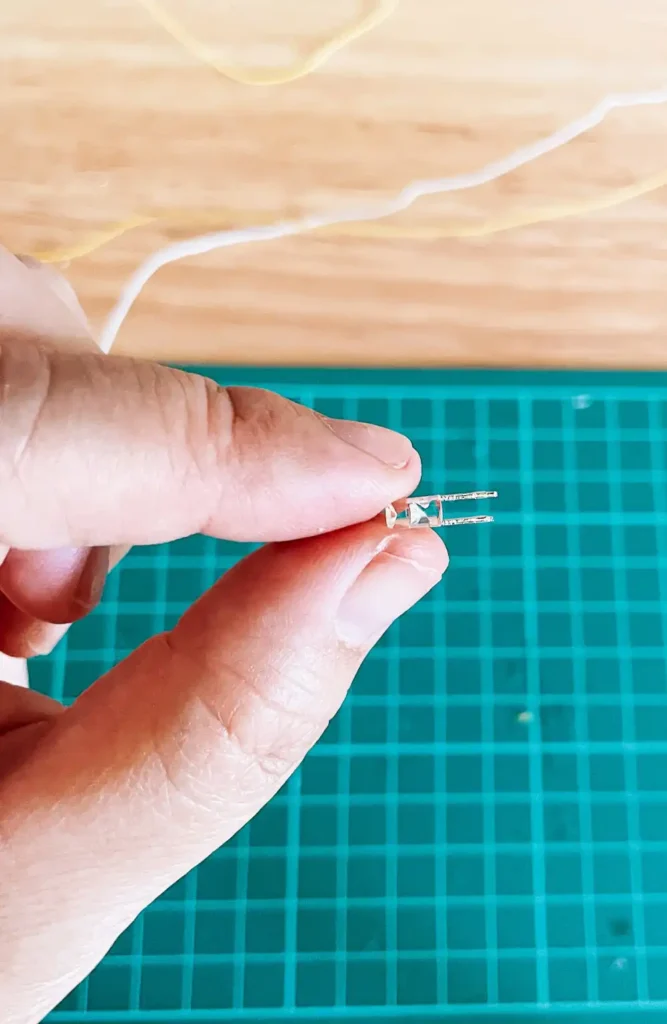
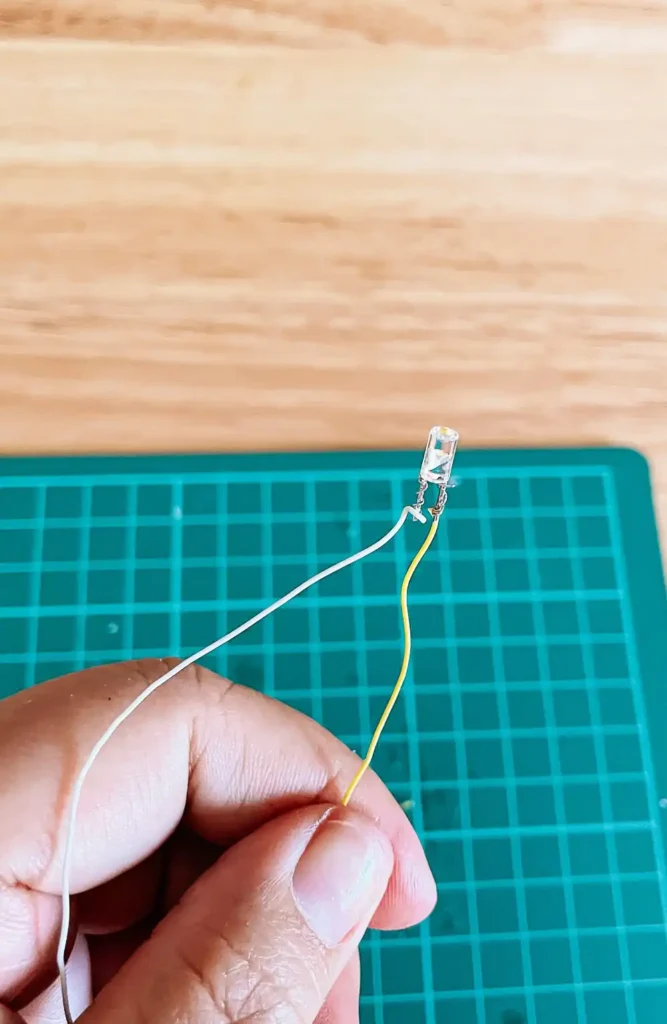
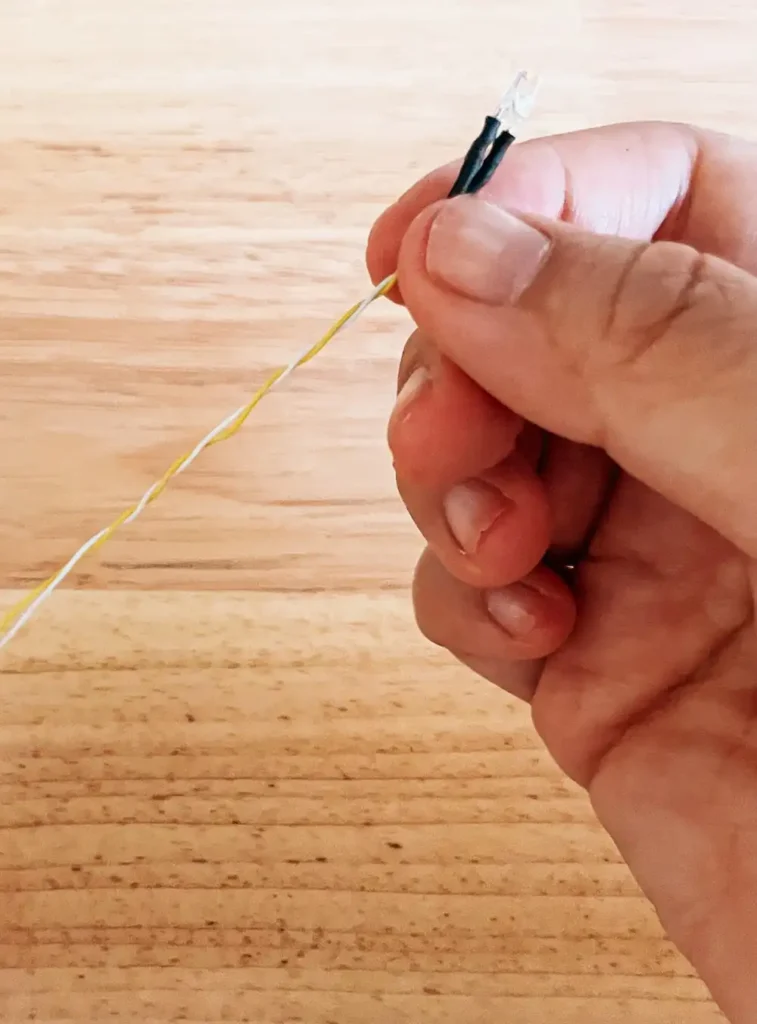
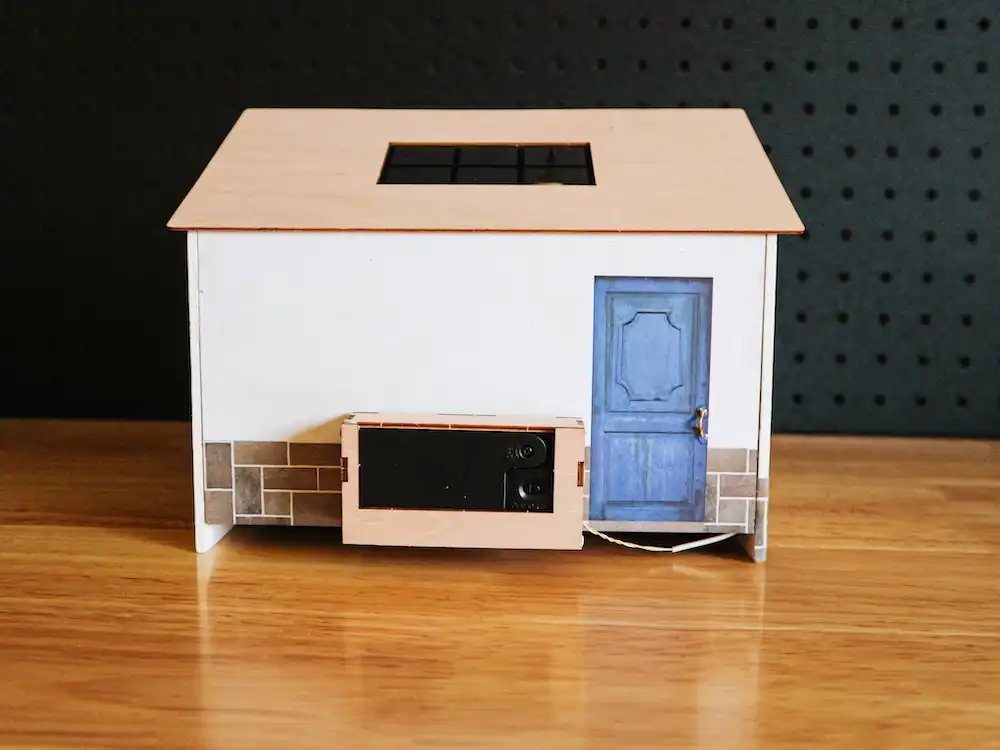
- Finally, the electrical wiring for the light. The actual wiring was fine (it was surprisingly easy, even though I’d never wired anything before). But removing the rubber casing? That took forever. The delicate wire snapped a few times, so I had to redo the whole thing several times before it was finally usable.
Tips for assembling Kiki’s Magic Emporium as a beginner
Here are a few things I learned along the way that might make your experience a little smoother:
Gather all the pieces before you start each component. The instruction booklet will tell you which items you’ll need for each component. Some parts look almost identical, so double-check before you start gluing anything down.
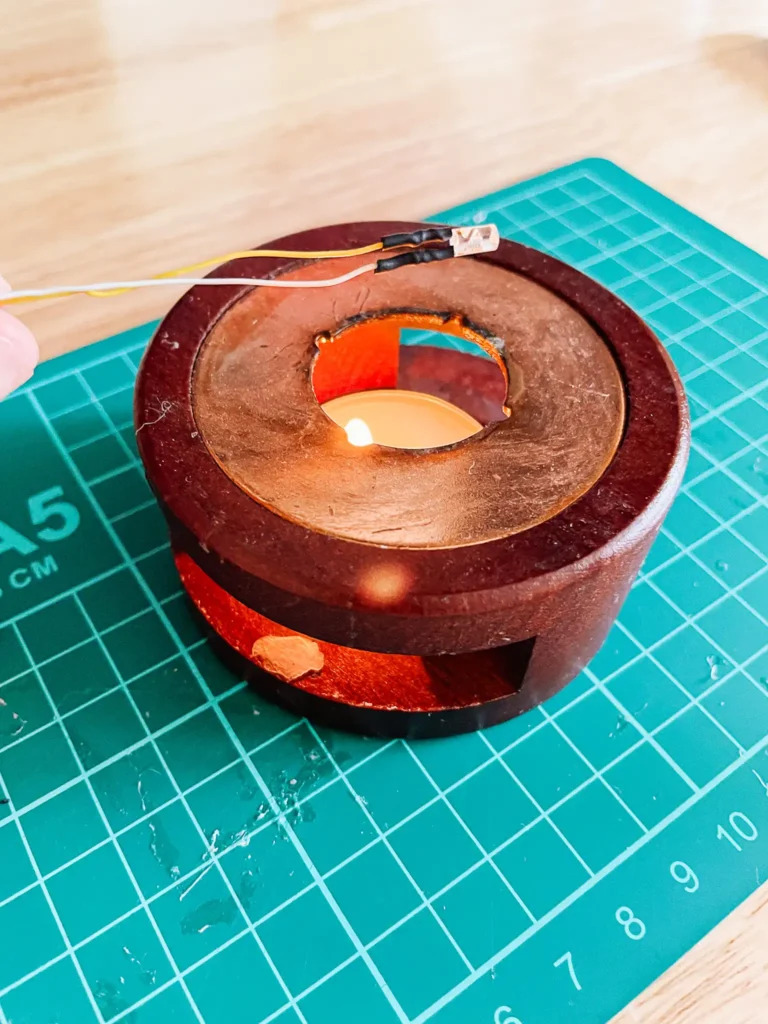
Heat-shrink tubing tip. When working with the electrical wiring, you’ll need to use the heat-shrink tubing. Since I’d never used it before, I ended up using a wax seal burner for heat. I wasn’t confident holding the wires over an open flame without a barrier, so the wax burner helped prevent burning the wire by accident. Another option is to use a heat gun (which I didn’t have).
Use glue tack for the cover of the battery pack case. Instead of using glue, I opted for glue tack to attach the cover of the wooden battery pack casing. This way, if I need to change the batteries later, I won’t have to rip the whole thing apart. It worked out great, especially when I had to adjust the wires after everything was set up—it made the process much easier.

Watch a tutorial first. Watching a tutorial beforehand can make things way easier to understand. I found Cocobelly DIY’s Kiki’s Magic Emporium video on YouTube super helpful as a reference.
Patience is key. I’m someone who likes to get things done quickly, but this project taught me to slow down. It’s better to do things right the first time than to rush and have to redo them. Luckily, I didn’t need to make any changes, but taking my time definitely helped!
Time it takes to complete Kiki’s Magic Emporium
The website says it should take about 10 hours to complete, and I found that somewhat accurate. I followed the sequence in the instructions and it took me about 10 hours to get through the first 10 pages. On day two, I picked up where I left off at page 11 and spent another 6 hours finishing it.
It probably took me a bit longer since this was my first miniature house build, and I’m not familiar with working with such tiny pieces. I also struggled a lot with the rubber casing on the wires and using the heat-shrink tube.

Final thoughts
Assembling Kiki’s Magic Emporium was so much fun, and I think I’ve just discovered a new hobby (or maybe an obsession). I loved creating all the tiny items, and it’s so satisfying to just gaze at everything once it’s done.
Overall, I wouldn’t say it’s particularly difficult, especially considering it’s rated 4.5/5 for difficulty on the box. With the right tools, it’s definitely manageable for a beginner. The rabbit hole of miniature worlds has officially opened for me, and I’m hooked! I’ve already ordered three more Robolife miniature kits—stay tuned for more!